Toyota Lexus Denso ECU Flasher - Professional Toyota Denso/Fujitsu Ten ECU programmer
Note: work offline mode.Donot Update.
Top reasons to own one:
1. Professional Toyota Denso ECU programmer
2. Support Toyota/Lexus 2015 + OBD Write
3. Support Some Toyota/Lexus 2015 + OBD Read
4. Can Read and Write via internal 20 pin or 26 pin JTAG connector.
5.Files can be stored in an open format, promoting ease of access and utilization.
6. Firmware integrity is fortified through checksum validation and recalculation, assuring data reliability.
7. No annual or monthly subscription
8. Its proprietary hardware interface ensures seamless operation, mitigating compatibility issues and driver complexities.
9. It guarantees unhindered access to ECU memory, executing operations at remarkable speeds surpassing 100 KB/s.
Storing Data: Standard mode storage
Free from any master-slave dependencies
Exclusive to the master device
Support Automated CHECKSUM CORRECTION
Compatible Systems:
TOYOTA's DENSO ECU using NEC 7F00XX series microcontrollers, including:
76F0038
7F0038A
76F0039
76F0039A
76F0040
76F0040A
76F0070 BGA
76F0085 BGA
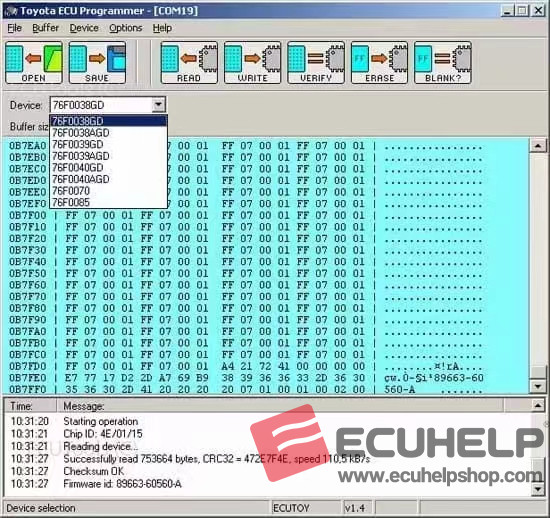
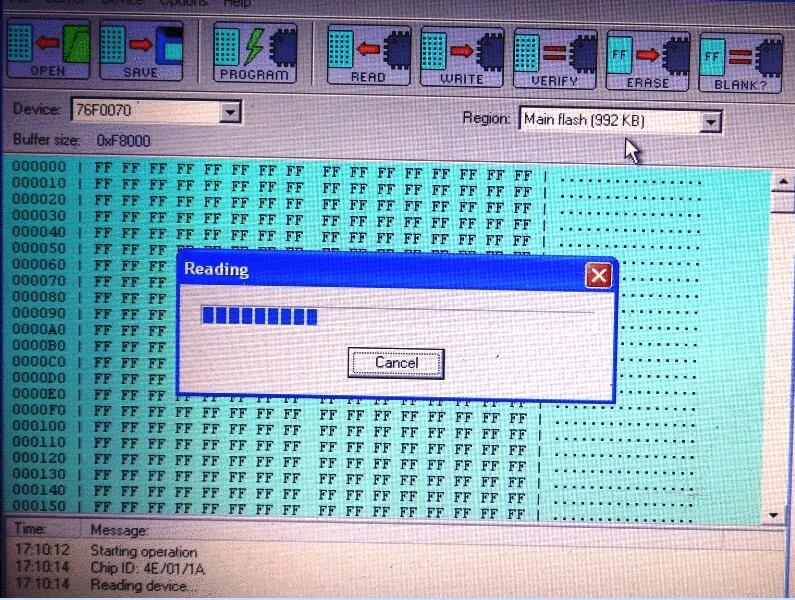
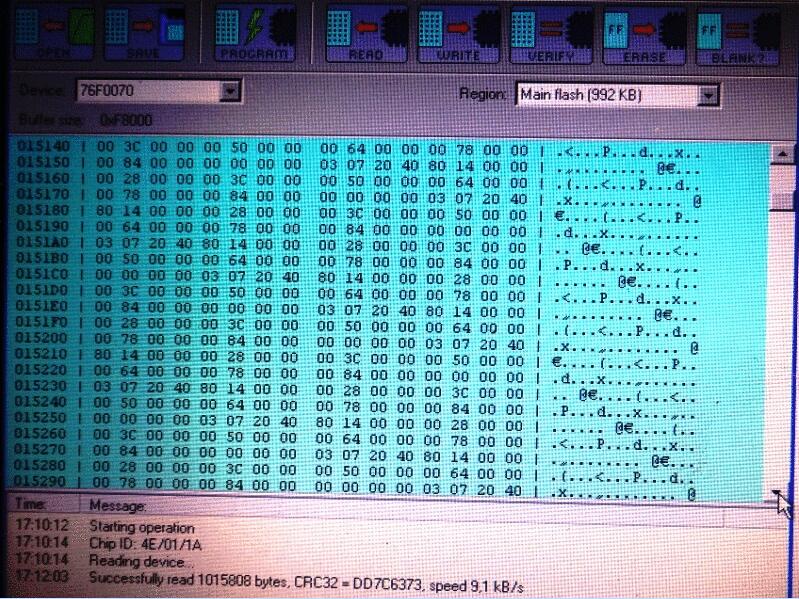
Read Toyota Denso 7600F70 100% OK:
DO NOT USE:
External 12V power for programmer powering in OBD mode!!!
USB powering ONLY !!!
Package List:
1pc*Host device of Toyota Lexus Denso ECU Flasher
1pc*12V/3A power out
1pc*16pin cable for ecu reading by OBD
1pc*cable for BDM function
1pc*adapter for Mitsubshi reading by boot
1pc*USB cable to connect the tool to the computer
1pc*adapter
6pcs*pins
1pc*Suitcase
Toyota Lexus ECU Flasher Download, installation and read/write Toyota Denso ECU 76F0070.
1.Toyota Lexus ECU Flasher Download
Click on:https://www.ecuhelpshop.com/pages/downloads/ and scroll down to download “Toyota lexus ecu flash v1.16 software” and “Toyota lexus ecu flash driver”.
2.Toyota Lexus ECU Flasher installation
After downloading the software, you will see several packages:
the first one is the application;
the second compressed package contains the wiring diagram;
The third one is the driver.
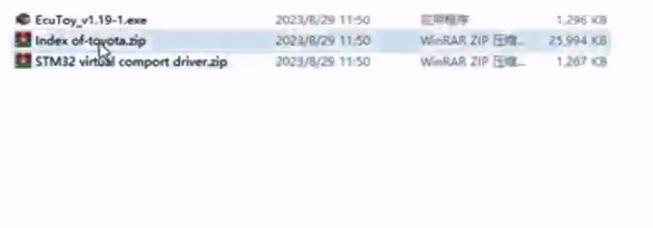
Unzip the wiring diagram first and then unzip the driver.
First open the STM32 driver.
Take the computer system xp win7 or WIN8 / WIN10for example
If it is a 64-bit system, choose 64, If it is a 32-bit system, choose X86.
Just install it, and then double-click “ Install”.

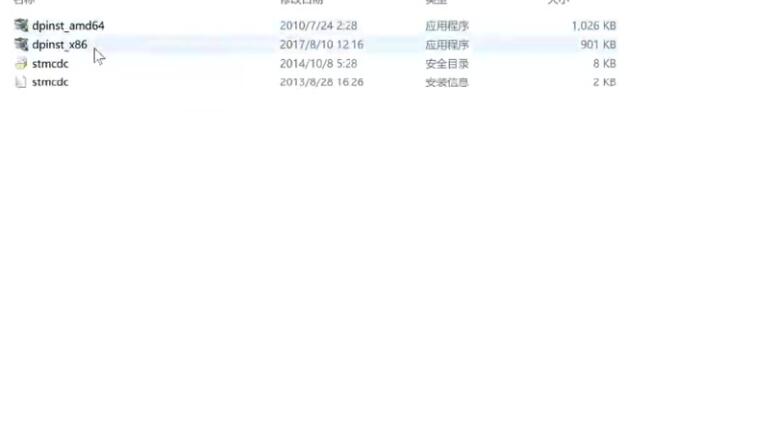
Then open the application.
Choose the option “options”and then select“port”.
PS: If the driver is successfully installed, the device COM port will display.
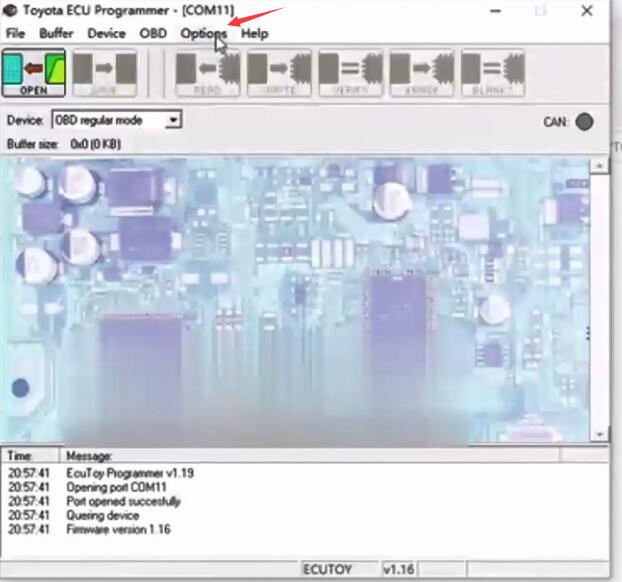
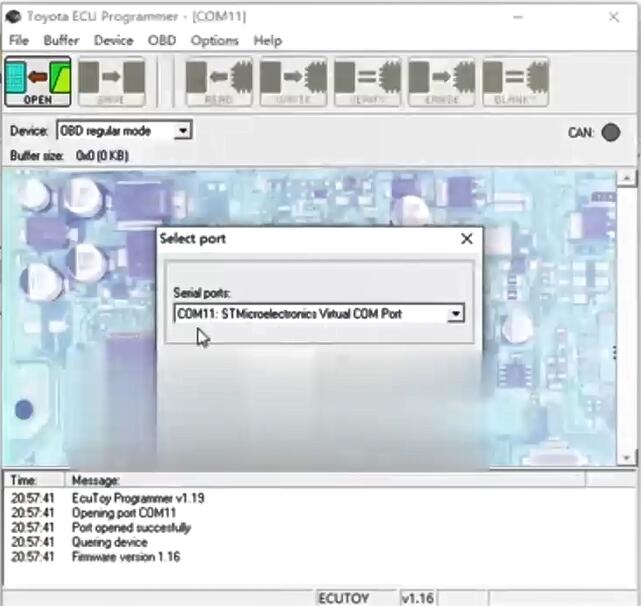
Click on “open”, in this way, the device can be successfully connected.
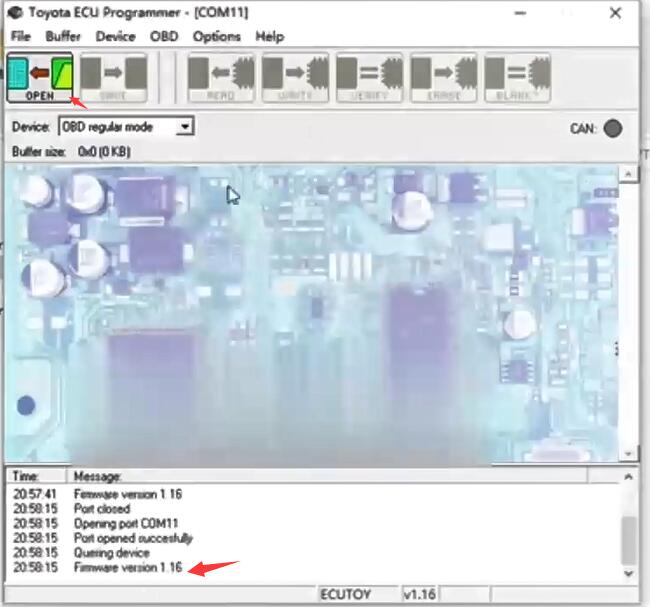
Then we look for the wiring diagram.
Pay attention: the number on Denso engine outlook is not necessarily correct.
The correct way: After opening the board, refer to the number on the computer.
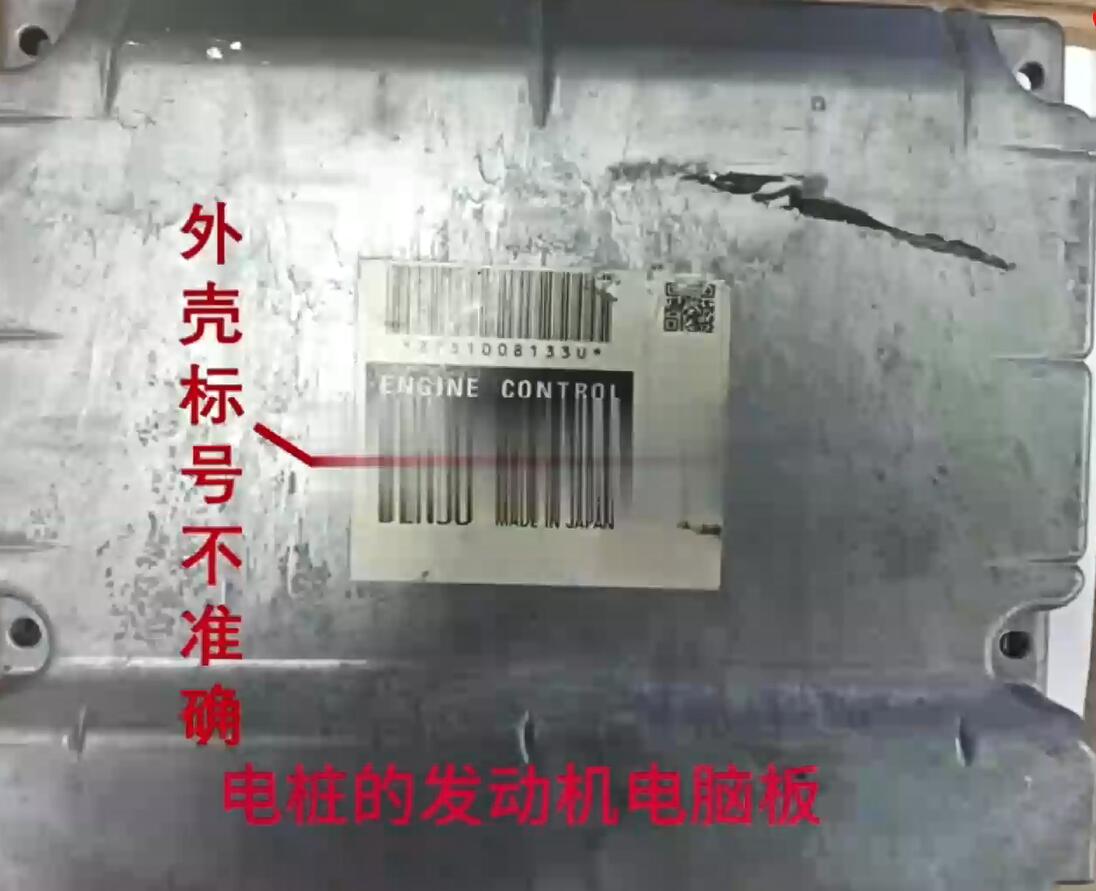
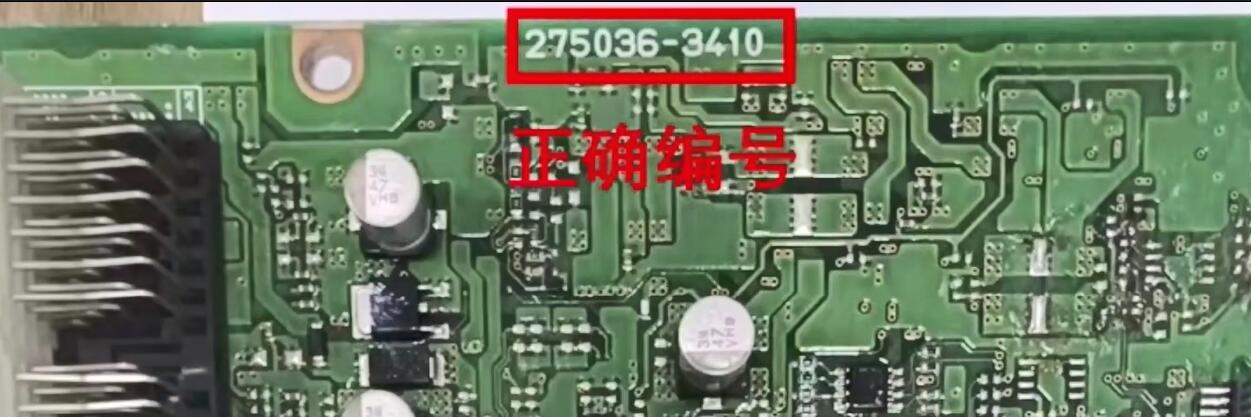
Look at this ECU, the number is 2750363410.
Open the wiring diagram.
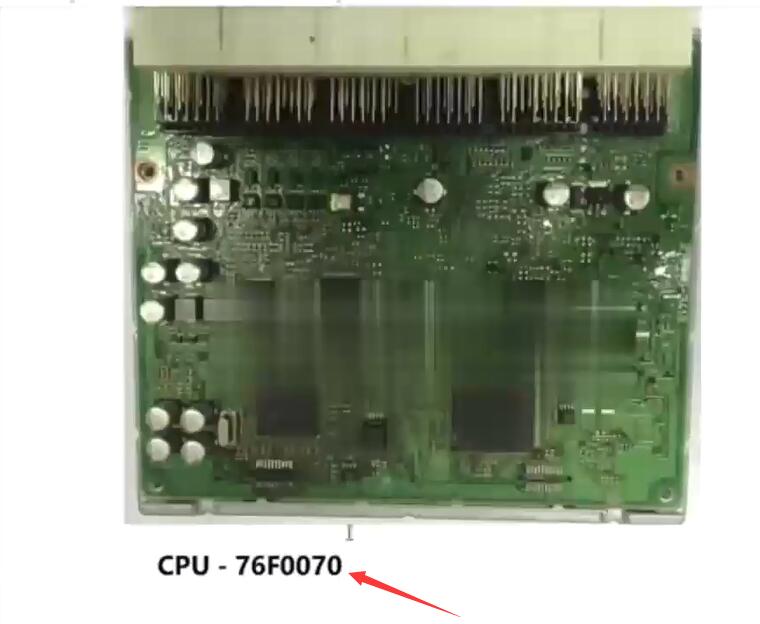
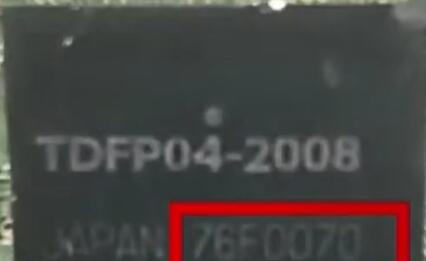
Select the corresponding ECU number, the chip CPU number 76F0070 is also shown on the wiring diagram.
Or refer to the number on the chip to select.
Step 1.
Use the two cables of Toyota ECU Flasher to connect to the socket of the engine. Connect a ground wire and live wire to power the engine ecu.
Step 2.
Find our jtag interface and solder it with the soldering plate.
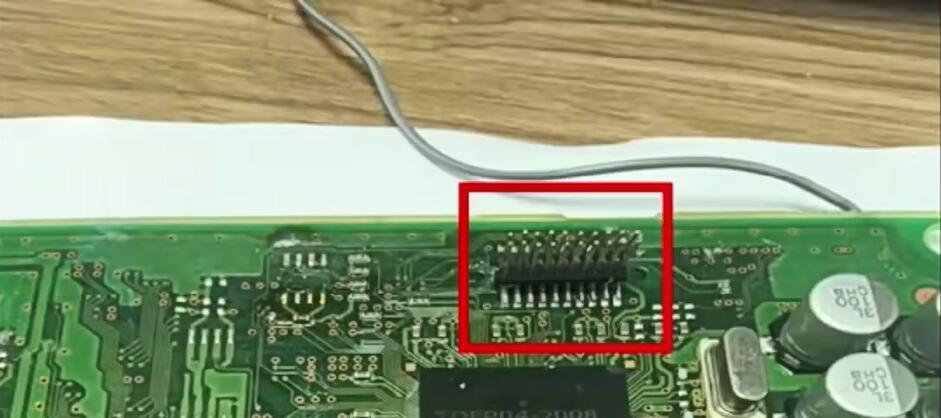
Step 3.
This type of engine requires a bot point from the back shown as follows.
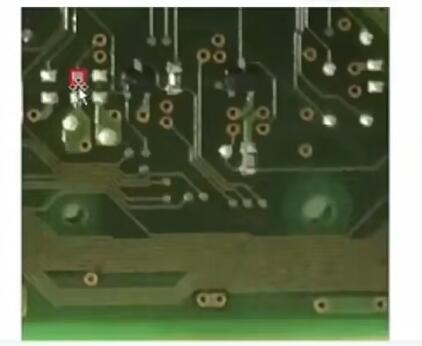
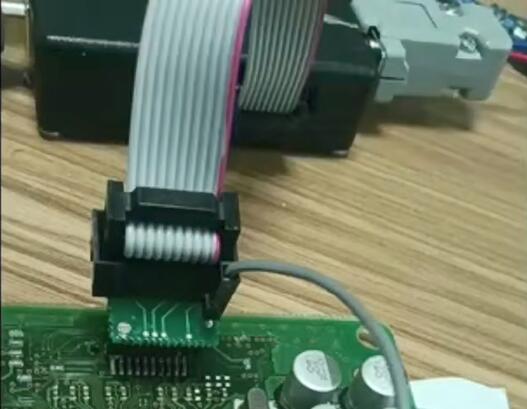
Plug the BOT point into one of the BOT pins on Toyota ECU Flasher .
Connect Toyota ECU Flasher.

Plug the wire.
Tips:
The Boot pin is always facing the inside of the engine and the other side keep facing the outside.
Once connected, open the application.
Select the corresponding CPU model from this option.For example,76F0070 series.
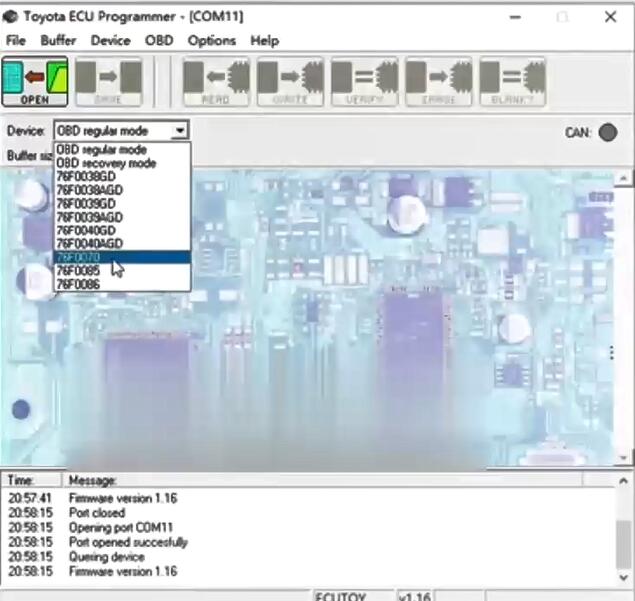
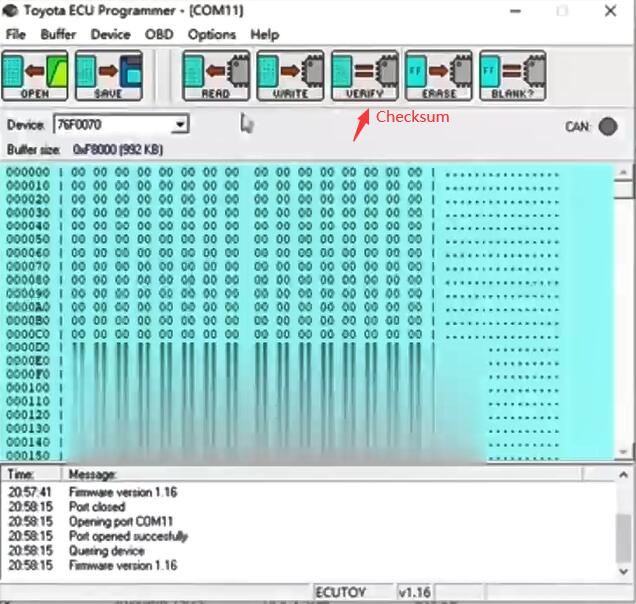
Operate as follows:
First click on “read” to read data until 100% ok with hardware ID, the Checksum is also OK, in this way we don't have to read it. Two data for comparison to ensure the integrity of the read data.
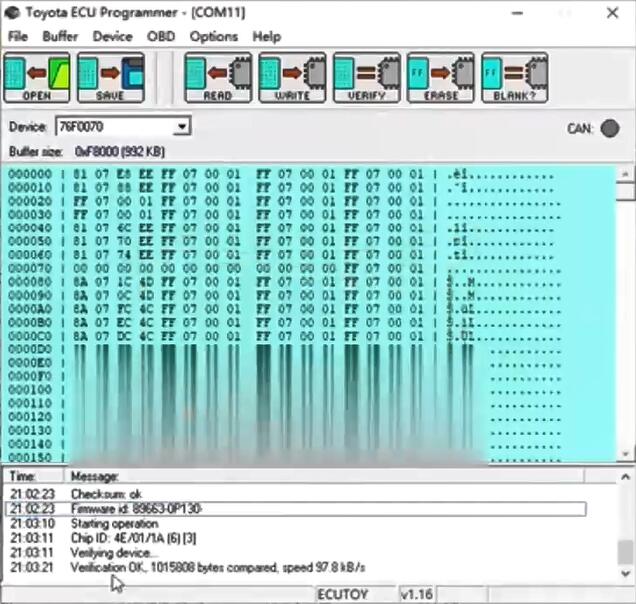
Step 4.
Finally we click “Save” to save successfully.
Step 5.
Write date. Click on “Open” button, select the corresponding data, click on “Write”.
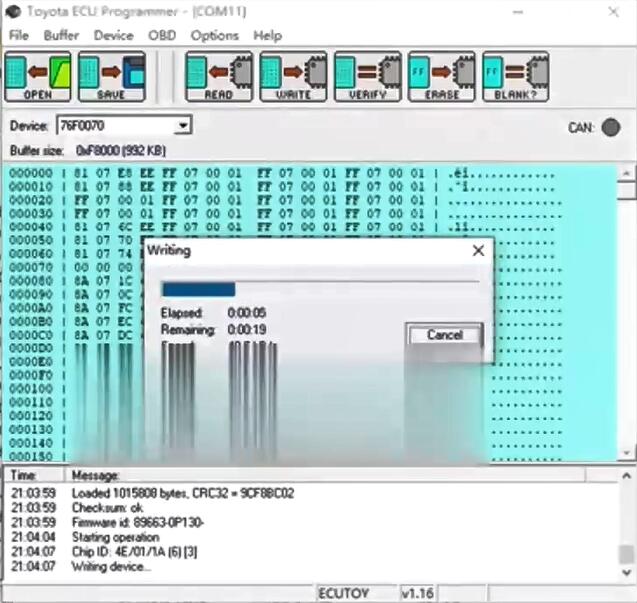
In conclusion:
For the Toyota Denso engine ECU, when doing some data modification, it may fail to write because the number is wrong, then Toyota ECU Flasher is able to perfectly fix this problem, as long as the CPU model is the same, it can be written.

 Whatsapp: +86-13480885545
  Live Support: Chat with us online
 Email: 8081242@qq.com
 Skype: jensen.tce
 Live Chat


 Go Back


 Add to Cart


 Skype: jensen.tce
  Live Support: Chat with us online


